few months ago I bought an Olympus SP-550UZ, the penultimate of the Ultra Zoom family that had come to end year. He wore while trying to buy one of these lines since a buddy lent me his SP-510 for photography work I did in college will almost two years. So me and asked ahombré Santa Amazon to send me.
Well, I gave a good trip in December with Kare Merida and the COTU and obviously filled a 2 GB XD with pure pictures (The girls were already sick of me, I saw a dog lying and we took a picture ... but they do not understand me ..)
It took almost two days uploading photos to flickr ...
After the excitement of the first time (yes, first I have stabilized 18x zoom, a whole tripeo), I began to see minor shortcomings of the camera. I was clear from the beginning that was not the best DSLR for a beginner like me, although I have on the waiting list to buy a Rebel XTi next year (damn CADIVI), so I preferred the 550, although still qualifies as a point and shot, is generally a very good camera. The zoom is excellent and stabilization really does work in most cases (A 18x you can not ask much unless you have a tripod, but we will not ask an elm pears, let's face). But I have a problem with the colors captured by the CCD sensor.
Usually the photos are very good, but take very saturated colors and white light tend to become flat and dull, like cakes. This is handled at the camera playing with the meter, but not all the time you have time to put the camera on manual and give them to you as a photographer.
long time ago I found a tutorial to make black and white photos in Photoshop (or GIMP, or picnic grounds, or etc) were much better than the gray, flat images generally get to desaturate. Technique is the high pass filter (High Pass): You start
desaturated the base layer (layer Call it A), then duplicate the layer (B) and seteas the option of "blending" to overlay (in picnik can also be , playing with transparency layer B). Then we apply the high pass filter to the layer B (In GIMP you've got to go down, now I do not remember exactly where. I know you can make Photoshop filters Lirva the GIMP).
An intermediate value of this filter does the job, but I will leave that to pcs.
The results are obvious:
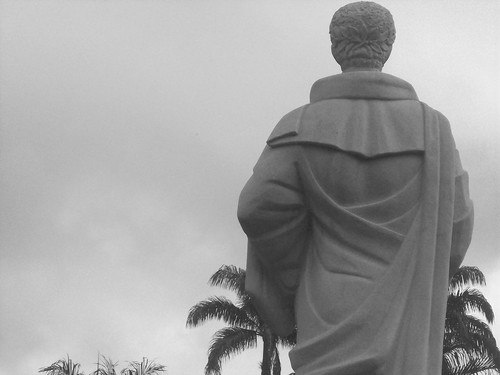
before (only desaturated)
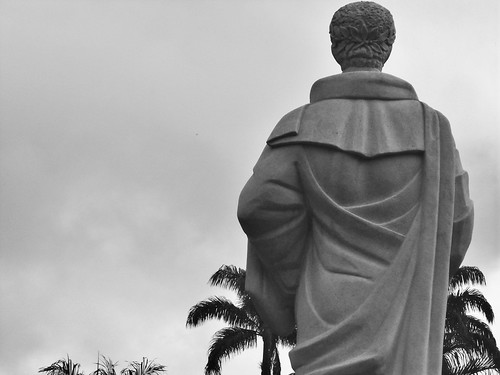
After
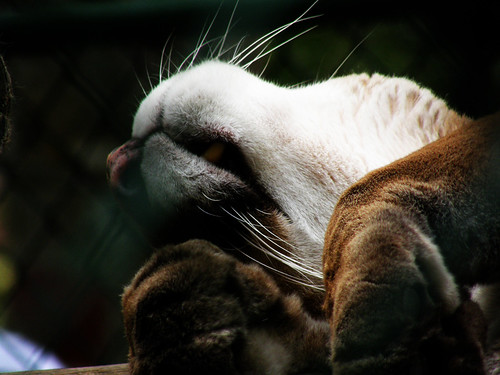
A similar technique can be used to improve the color of the photos instantly. Just duplicate the layer A, no desaturation, and to apply the overlay to the layer B (above). After playing with the contrast and brightness layer B, and Lester:
Before:
After:

And I have a wallpaper: P
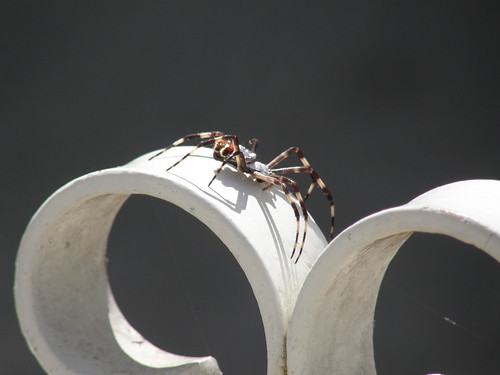
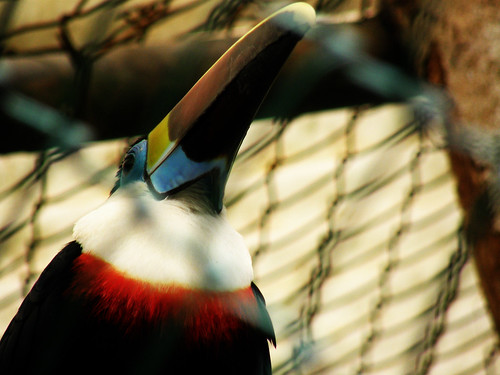
Other good examples:

0 comments:
Post a Comment